Showing posts with label crafts. Show all posts

Friday, June 1, 2012

Month number 2 - Task number 6

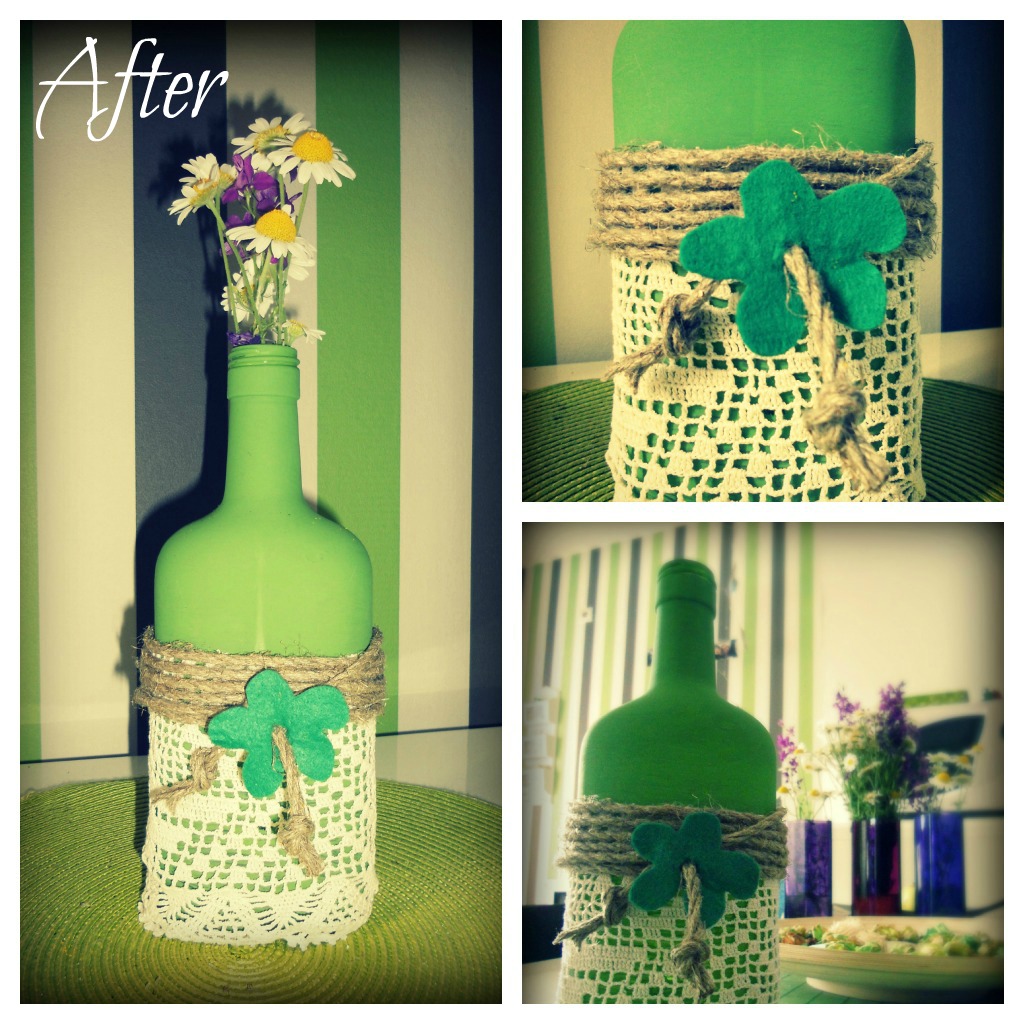
VAZA OD HEKLERAJA - tutorial ////// DOILIE VASE - tutorial

Iako sam ovog meseca već pravila vazu (videti ovde), morala sam staviti i ovu. U stisci sam sa vremenom, a nisam prekršila postavljena pravila projekta: jesam napravila još dva "uradi sam" projekta u toku zadatog meseca, samo nisam stigla sve da islikam. Biće izveštavanje i o njima, na mom drugom blogu koji se time više bavi. Inače je ova vaza jedan od poklona za moju najdražu sestru, koja se uskoro useljava, a koja je ljubitelj hekleraja i svega što se od njih može napraviti. Poklon joj se svideo :)

Od ovoga....

 ///////////////

Even tough this month I already made one vase (see here), I had to put this one as a task for this month. I`m tight with time, but I didn`t break the rules of this project: I have made two more DIY projects in this month, but I just didn`t manage to photograph them. I will report about them also, but on another blog which is more about DIY. By the way, this is the present for my dear sister, who is momentarily in process of moving into new apartment. She`s also a big doilie fan! She did like the present :)

From this....


.... dobila sam ovo: ///// .. I got this...
Od materijala vam je potrebno:
prazna i očišćena boca
hekleraj
igla i konac
kudeljin konac
flis materijal
akrilna boja
//////////

From the material you`ll need:
empty and cleaned bottle
doilie
needle and  thread
nettle yarn
flis
acrylic colour

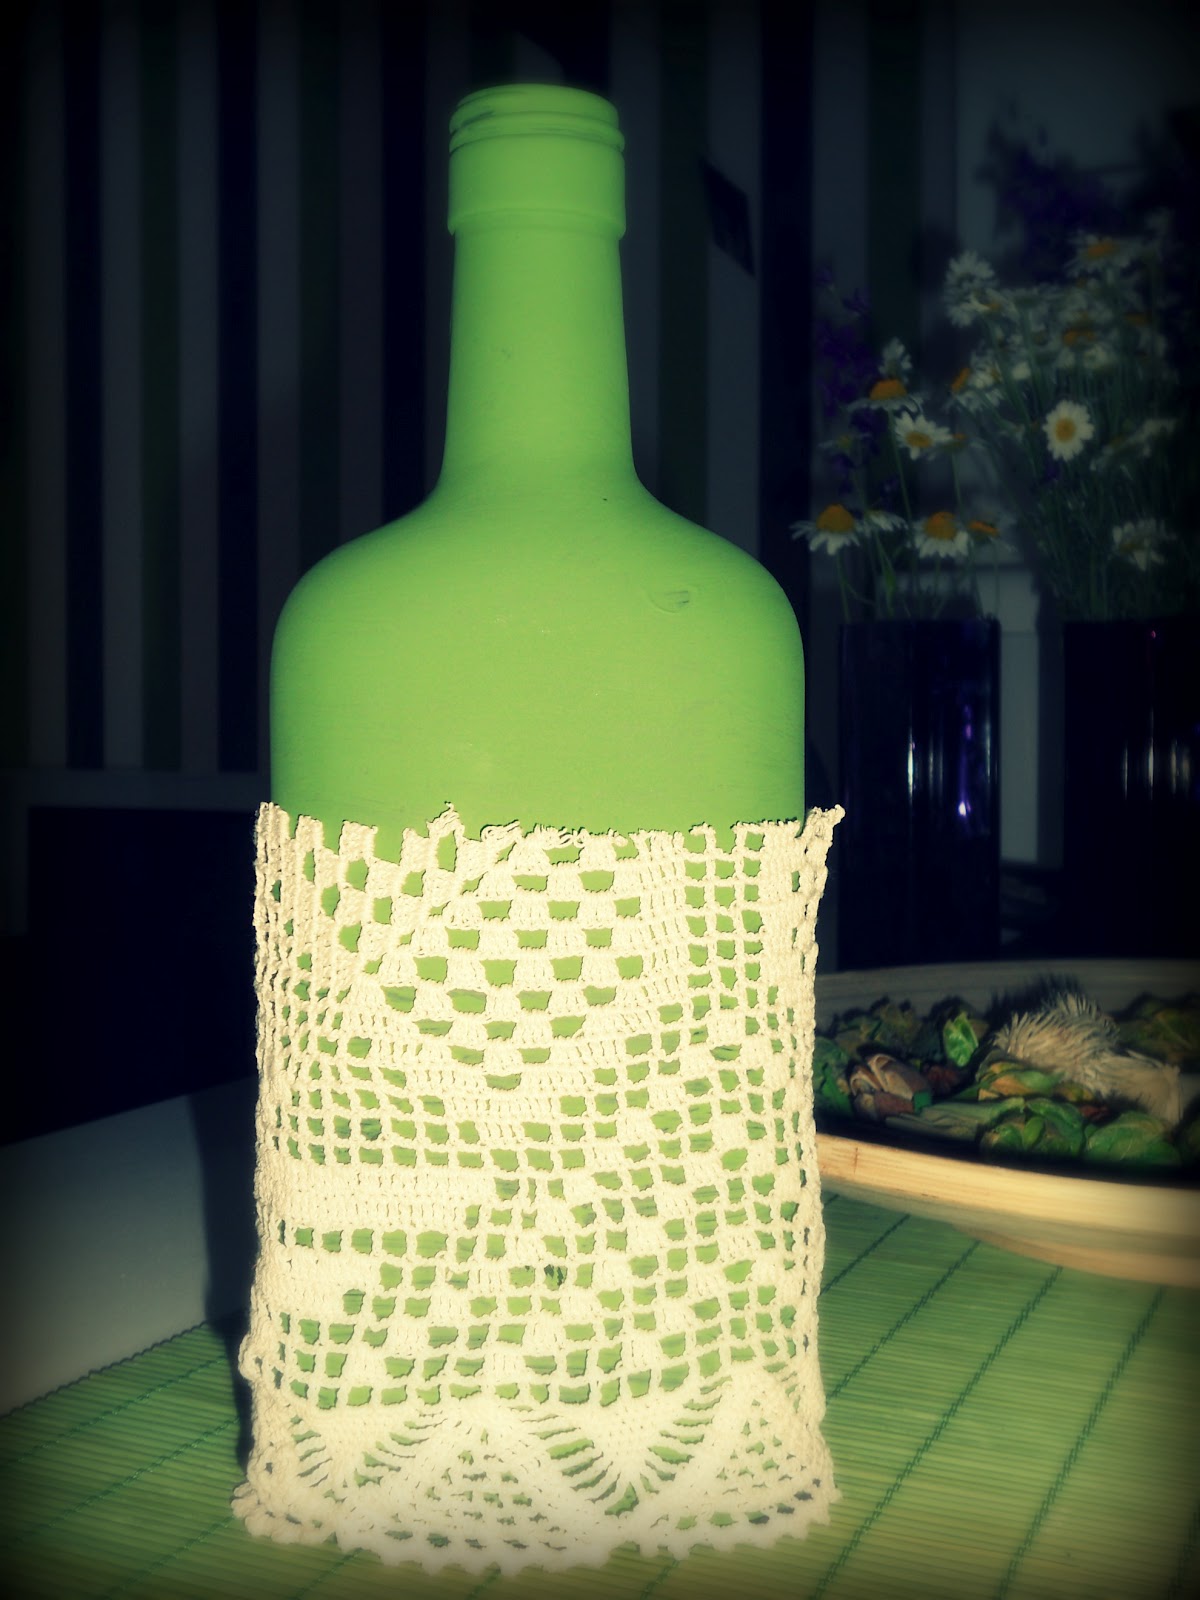
Prvo, obojite flašu... //// First, you colour the bottle...


Kao što vidite, dole ne morate da je bojite drugim slojem, jer ćete je tu svakako prekriti heklerajem. Potom, ušijte hekleraj, tako da lepo pristane oko flaše. //////  As you can see, the lower part you don`t have to colour with paint, because you will cover it with doilie anyway. After that, you sew the doilie, so that it fits well around the bottle.


Isecite cvetić od flisa, i uvežite ga sa koncem oko flaše. I to je to! ////// Cut the flower of the flis, and tie it around the bottle together with a yarn. And, that`s it!


.....

Prošao je još jedan mesec projekta. Toliko mi prijaju ovi "uradi sam" projekti, da imam minimum još pet ideja koje čekaju u redu da ih realizujem u narednim danima. Međutim, shvatila sam da ne bi bilo dobro da mi se još jedan mesec preklapaju postovi na dva bloga. Tako da sam za naredni mesec osmislila drugi zadatak, a o narednim "uradi sam" projektima možete čitati na mom CreaCtvity blogu. A zadatak za sledeći mesec je: ORGANIZOVATI ŠEST AKTIVNOSTI SA DRAGIM OSOBAMA KOJE DUGO ILI NIKADA NISMO RADILI! //////// Another month of the project has passed. I`m so into these DIY projects and have at least five ideas in a row of what to make in the next few days, but I figured that it would not be good to have the same posts on my two blogs for two months. So, for Month number 3 I`ll give myself another assignment, and about my DIY projects you can read on my CreaCtivity blog. The assignment for June will be: ORGANIZE SIX ACIVITIES WITH DEAR PEOPLE THAT WE NEVER OR FOR A LONG TIME HAVEN`T DONE!


Tuesday, May 22, 2012

Month number 2 - Task 4

KAKO DA SAMI NAPRAVITE CIPELE - TUTORIAL /////// HOW TO MAKE YOUR OWN SHOES - TUTORIAL

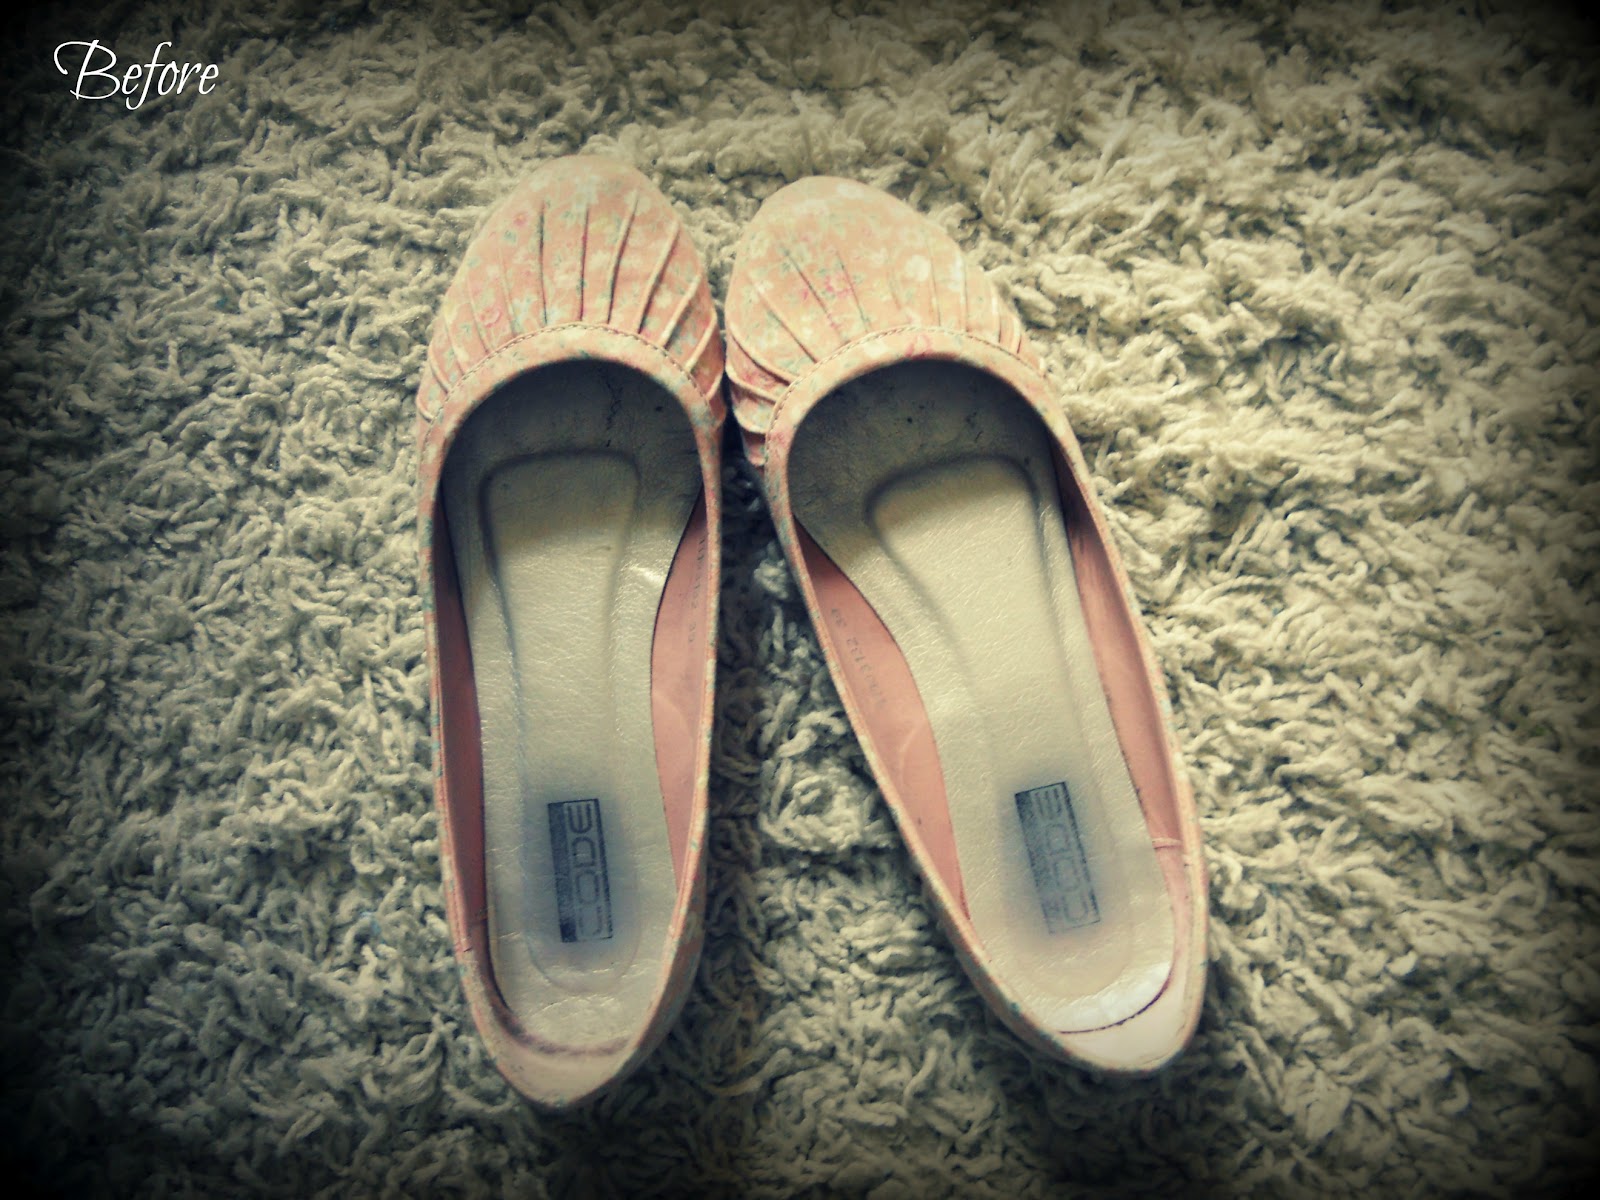
Malo je falilo da bacim ove divne cipele... ///// I was about to throw these beautiful shoes away...


Zbog ovoga: ////  Because of this:


I onda sam na Internetu videla da su neki ljudi svoje stare cipele prekrivali heklerajima. Hm? Odlučih da probam i ja. Nemam šta da izgubim, ionako sam htela da ih bacim.. Evo kratkog tutorijala kako sam ih "sredila". Od materijala vam je potrebno:

hekleraj
(neko platno od nekog punog materijala) - ovo vam treba ako vam boja hekleraja nije ista kao cipele
štipaljke
lepak za platno i četkica
makaze
čačkalica.

/////////////////////////

And then I saw on Internet that some people were covering their old shoes with doilies. Hm? I`ve decided to try that also. I didn`t have anything to lose. I was planning to throw them anyway. Here`s a short tutorial of how I "did" them. From the material you`ll need:

doilie
(some cloth form a thick material) - u will need this if the colour of the shoes isn`t the same as the doilie
clothespins
Mod podge
scissors
toothpick.

Pošto bi komplikovano bilo da prekrijem celu cipelu odjednom, odlučila sam da prvo prekrijem prednji deo: //////////////// Since it would be complicated to cover the shoe all at once, I`ve decided to first cover the front part:


.. i onda deo sa strane... //// .. and then the part from the side...


Pričvrstite štipaljkom platno uz prednji deo cipele, i premažite prednji deo lepkom. //////// Fix the cloth to shoe with a clothespin, and put glue to the front part of the shoe.


Makazama isecite deo platna oko cipele i malo pričvrstite štipaljkama. /////// Cut the rest of the cloth with scissors and fix the cloth to the shoe with clothespins, so that it glue well.


Isto uradite i sa ostalim delovima cipele, pa je potom premažite lepkom još jednom. ////// You do the same with the rest part of the shoe, and then put glue over it again.


Uradite isto sa heklerajem, samo što od njega jedan deo zalepite i za unutrašnji deo cipele, kako se ne bi gulio i cepao dok hodate. Pričvrstite štipaljkama. ////// Do the same with the doilie, but now glue one part of it to the inner part of the shoe too, so that it doesn`t cut or peel while you are walking. Fix it with clothespins.


Dok je cipela još mokra od lepka, čačkalicom je oblikujte pri krajevima, naročito kod đona. ////// While the shoe is still wet from the glue, shape it with a toothpick, especially at the sole.


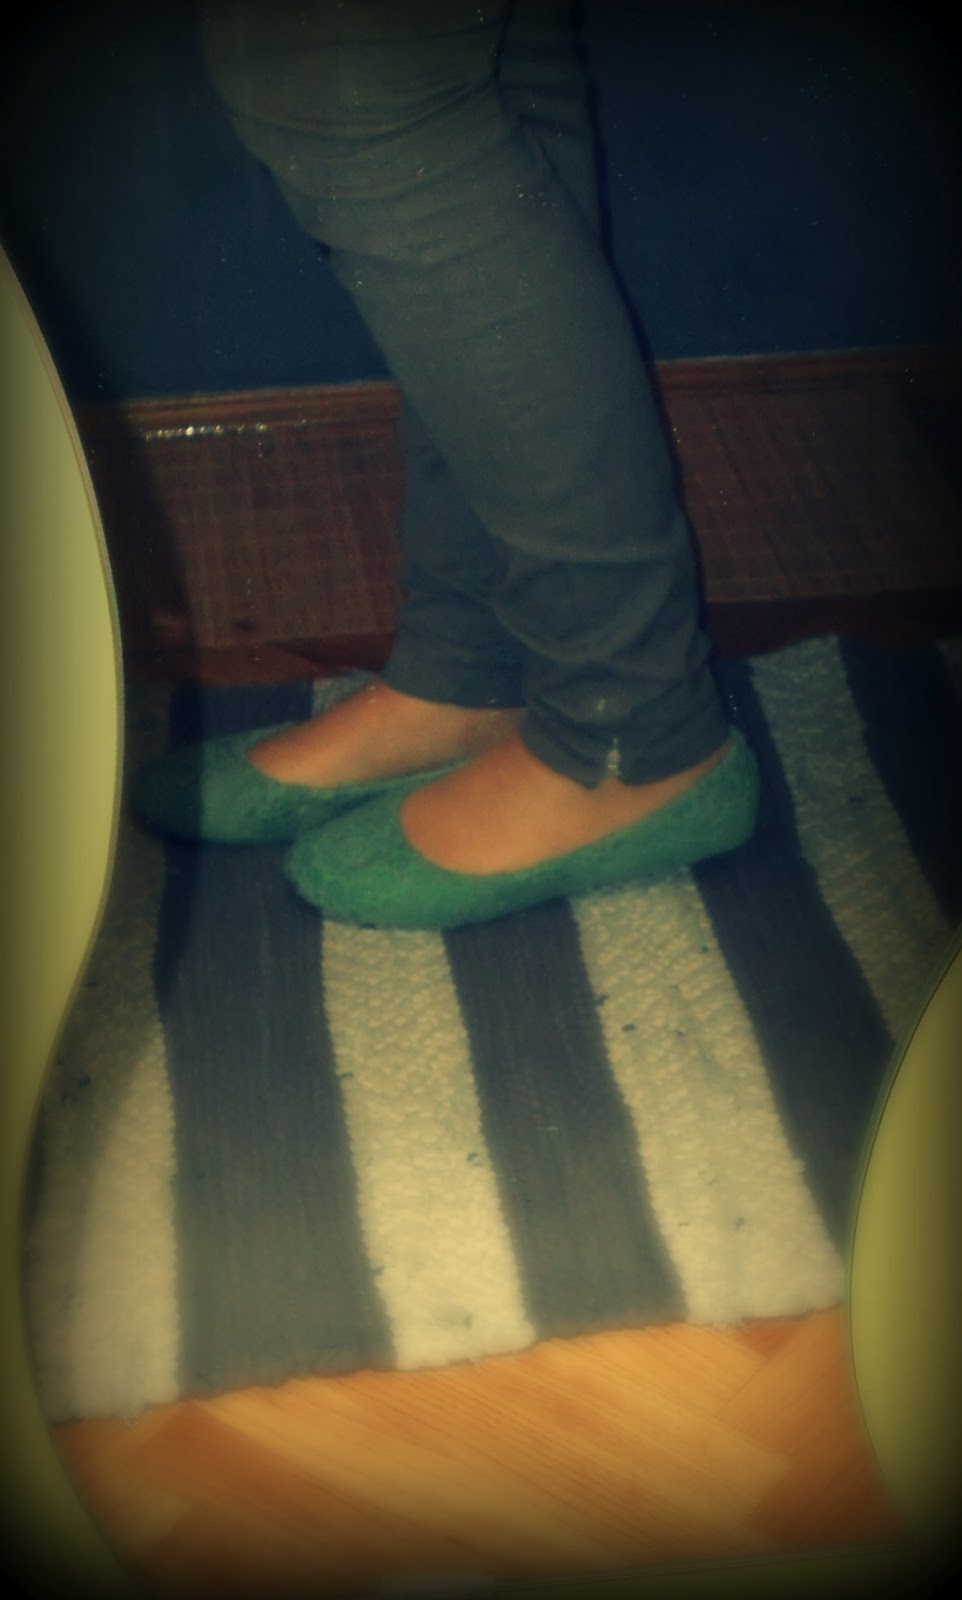
Ostavite da odstoji preko noći... I kada se probudite, dobićete ovo: ///// Let it leave dry during the night, and, when you wake up, you will get this:


I got new shoes, tra lala lala...


Wednesday, May 16, 2012

Month number 2 - Task 3

ŠIŠARKE I ORIGAMI CVET LOTOSA - KAKO NAPRAVITI JEDNOSTAVAN POKLON OD NJIH?///////////// PINECONES AND ORIGAMI LOTUS FLOWER - HOW TO MAKE A SIMPLE PRESENT FROM THEM?

Na aktuelnim roštiljima i boravcima u prirodi pokupila sam puno šišarki. U međuvremenu su se rađale raznorazne ideje o tome šta sa njima, i evo jedne.. Pošto su moji roditelji renovirali svoj stan, za njih sam osmislila jedan "uradi sam" poklon, koji će se odlično uklopiti u njihovu dnevnu sobu, budući da su u pitanju boje koje tamo i preovlađuju: tamno braon i zelena.

Od materijala vam treba:
  1. staklena ukrasna činija
  2. šišarke
  3. akrilna boja
  4. papir u boji
///////////

On previous holidays barbicues and other activities in nature, I have gathered lots of pinecones. In the meantime lots of ideas were born, about what to do with them, and here`s one of them... Since my parents have renovated their apratment, I came up to one nice idea about DIY present for them, which will excellently fit into their living room, considering the colours that are dominating in the room: dark brown and green.

Material you will need:
  1. glass bowl
  2. pinecones
  3. acrylic paint
  4. paper in colour

Prvo, obojite nekoliko šišarki. Obojila sam ih do dna, pa ostavila da se prosuše, i posle ofarbala i donji deo. //////////////// First, you colour a few pinecones. I coloured them until the bottom, then let them dry, and after that coloured them until their end.


Onda napravite origami cvet lotosa, kao na ovom snimku. Ja sam koristila žuti papir umesto crvenog, i uzela sam manje dimenzije: 12cm x 7cm. Cvet izgleda ovako: ///////////////////////////////////// Then, make an origami lotus flower as it is shown here. I used yellow paper instead of red, and I did it with smaller size of papers: 12cm x 7cm. The flower looks like this: 


Na kraju sam dobila poklon koji izgleda ovako: /////////// At the end I have got a present that looks like this:


Idem sad da im dam poklon. Nadam se da će im se svideti :) //////////// I`m going now to give them a present. Hope they`ll like it :)


Monday, May 7, 2012

Month number 2 - Task 2

CELTIC HEART  KNOT - HOW AND WHAT? /////////// KELTSKI ČVOR SRCE - KAKO I ŠTA?

... raditi sa njim? :)

Prvo sam pokušala da islikam sve korake postupka, ali je na fotografijama ispalo jako komplikovano. Bolje je da sve vidite na video tutorialu sa kog sam i ja naučila.

/////////////////

... to do with it? :)

First, I wanted to explain all the steps in photos, but it would look very complicated on the photos. It`s better to connect you to the video tutorial from where I learned it.

Meni je ispao ovako: ////////// I made it like this:


Nije tako čvrsto zbijen kao na tutorialu. Meni se ovako više svideo. E sad, ako ste se pitali "šta sa tim čvorom sad?", evo nekoliko ideja kako možete da ga iskorisite... /////// It`s not as tight as on the video. I liked it this way better. However, if you were wondering "what shall I do now with this knot?", here are some ideas what to do with it...

Možete ga nositi kao ogrlicu: ///// You can wear it as a necklace:


.. ili ga spojiti sa šišarkama i napraviti ukras za sto.... //////// .. or join it with pinecones, and make a detail for your table...


... ili kao ukras za zid... ///// .. or as a detail for the wall...


A  od materijala vam je trebao samo konopac, malo šišarki i dobre volje :) ////////// And from the material you needed only a rope, a few pinecones and a little of good will :)

I, kao i uvek, jedna simbolična pesma. Inspirisana keltskom muzikom, a izvođenje u Alhambri - jednom od najčarobnijih mesta-spomenika na svetu.. . Žmarci... ///////////// And, as always, here`s one symbolic song. A celtic inspired, and in Alhambra - one of the most magnificent monuments in the world.. I can imagine the atmosphere there during this concert... Goosebumps...


Friday, May 4, 2012

Month number 2 - Task 1

RECIKLIRANA VAZA ZA CVEĆE ////// RECYCLED FLOWER VASE

Ovaj post, kao i većina od ovog meseca će se preklapati sa postovima koje postavljam na svom drugom blogu creactive, jer je ovomesečni zadatak u projektu "Napraviti 6 URADI SAM projekata", a "uradi sam" aktivnosti su svakako jedna od tema CREAcTIVE bloga. Već od sledećeg meseca, to ne bi trebalo da se ponavlja...
Elem, "uradi sam" projekti su me toliko obuzeli, da sam već počela da ih realizujem. Evo jednog manjeg, odmah na početku: pošto mi u kupatilu preovlađuju zemljani tonovi, palo mi je na pamet kako mogu već postojeću vazu da obradim i prilagodim bojama u kupatilu. Ovako je ona prvobitno izgledala:

//////////////////////

This post, as well as most of this month, will probably overlap with posts from my other blog creactive, because this month`s assignment for the project is "TO MAKE 6 DIY PROJECTS". And DIY projects are definitely one of the main topics of the CREAcTIVE blog. Beginning with the next month, this overlapping shouldn`t repeat again.. Anyway, I got so overwelhmed with DIY projects, that I already have started realizing them. Right at the beginning, here`s one smaller project: since in my bathroom there are mostly "ground" colours, it came to my mind that I could recycle one old vase, and adapt it to the colours in the bathroom. Here`s how it looked like at first:


Onda sam iskoristila kudeljin konac, jedno parče od neke stare mašne za pakovanje poklona i dve školjke, i dobila sam ovo: ////////////////// Then I used a rope, one piece of an old fabric for packing of presents and two shells, and here`s what I got:


Evo kako izgleda u kupatilu... /////// This is what it looks like in the bathroom...


Mislim da sam juče bila KREAkTIVNA! Da li vam se sviđa? ////////////// I think that I was CREAcTIVE yesterday! Do you like it? :)

This is kind of CREAcTIVE dancing, to the theme of flower :)