VAZA OD HEKLERAJA - tutorial ////// DOILIE VASE - tutorial
///////////////
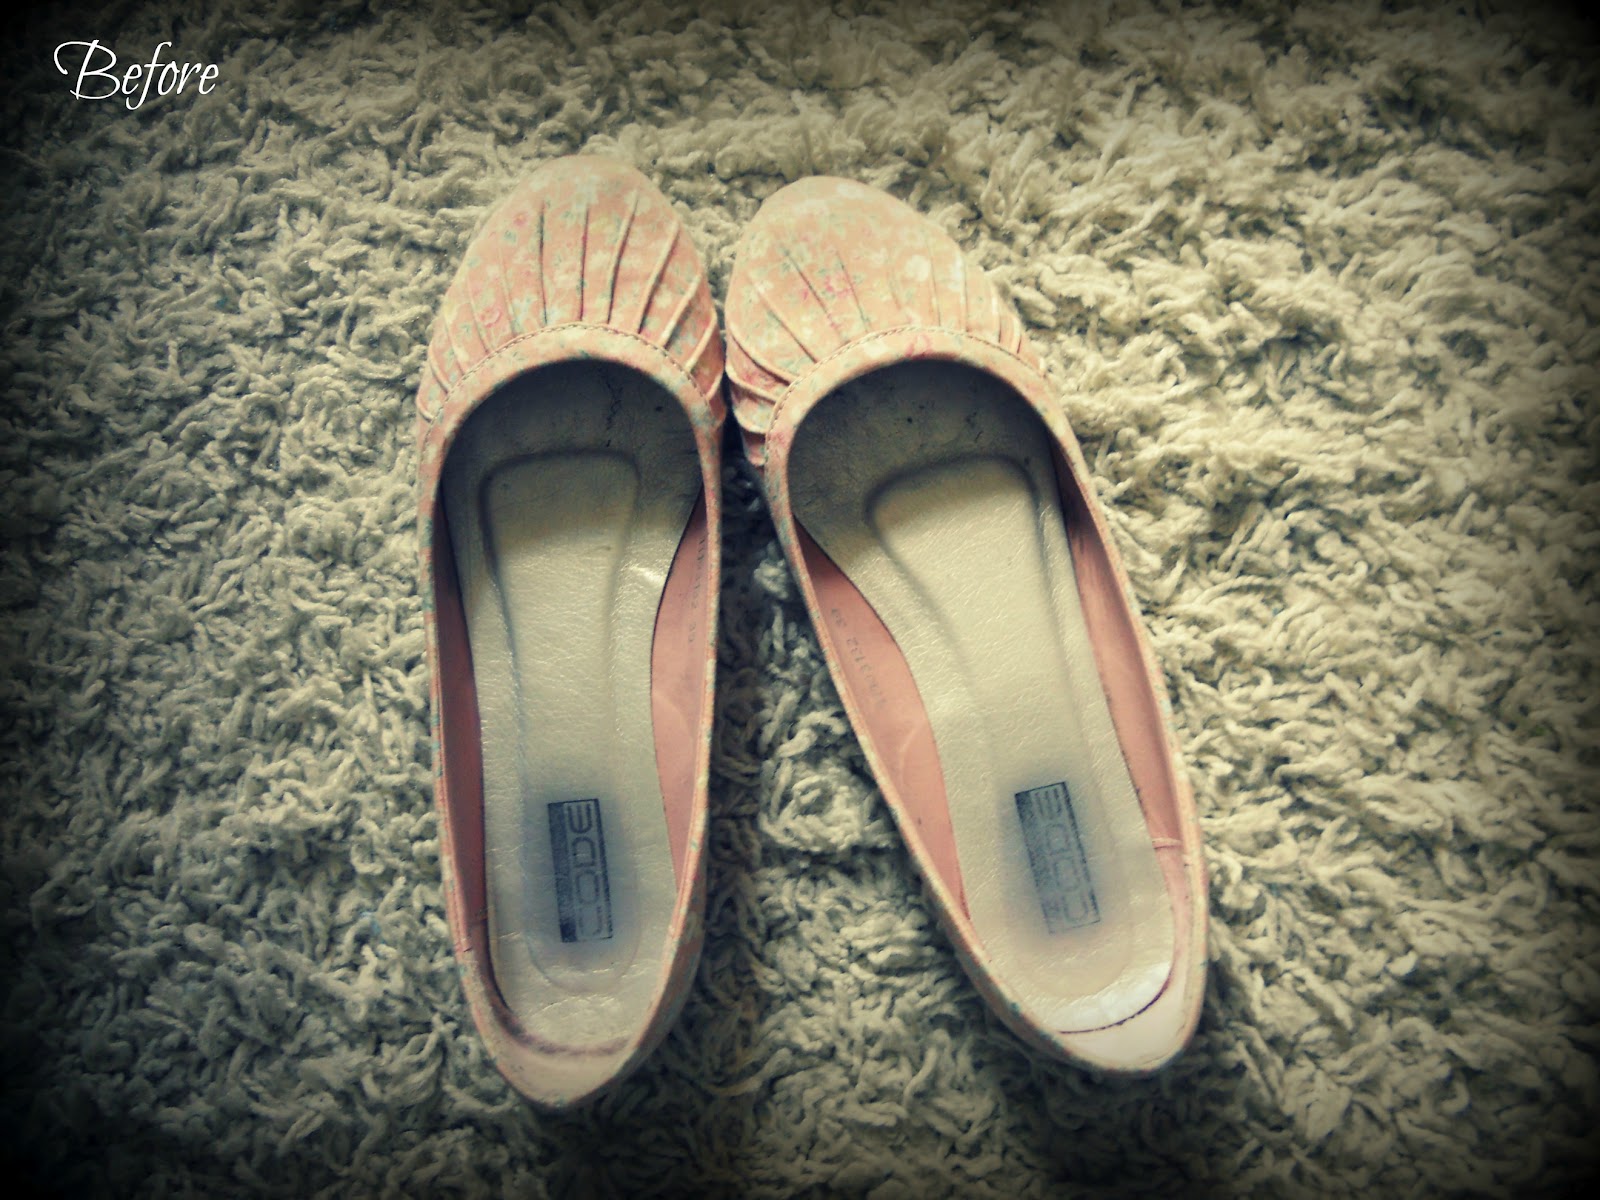
From this....

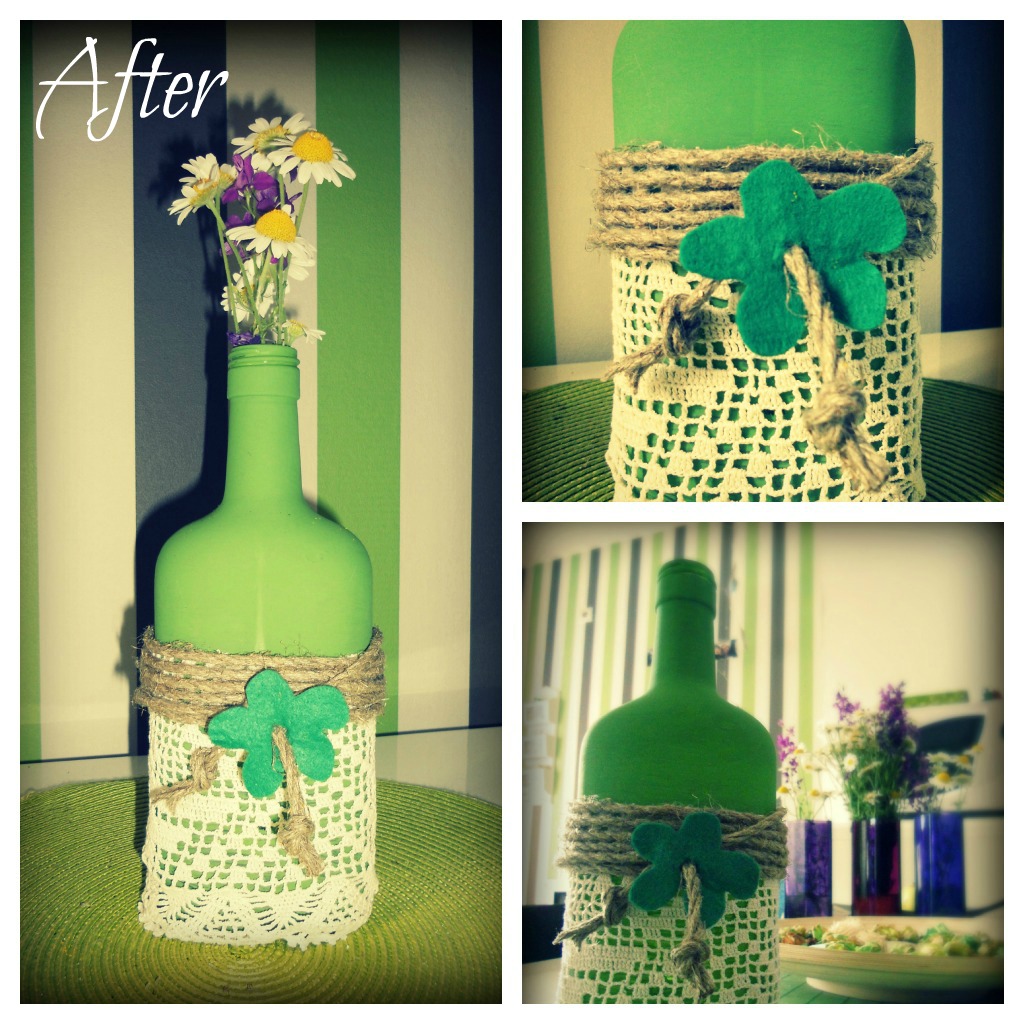
.... dobila sam ovo: ///// .. I got this...
 Od materijala vam je potrebno:
prazna i očišćena boca
hekleraj
igla i konac
kudeljin konac
flis materijal
akrilna boja
//////////
From the material you`ll need:
empty and cleaned bottle
doilie
needle and thread
nettle yarn
flis
acrylic colour
Prvo, obojite flašu... //// First, you colour the bottle...


Isecite cvetić od flisa, i uvežite ga sa koncem oko flaše. I to je to! ////// Cut the flower of the flis, and tie it around the bottle together with a yarn. And, that`s it!

.....
Iako sam ovog meseca već pravila vazu (videti ovde), morala sam staviti i ovu. U stisci sam sa vremenom, a nisam prekršila postavljena pravila projekta: jesam napravila još dva "uradi sam" projekta u toku zadatog meseca, samo nisam stigla sve da islikam. Biće izveštavanje i o njima, na mom drugom blogu koji se time više bavi. Inače je ova vaza jedan od poklona za moju najdražu sestru, koja se uskoro useljava, a koja je ljubitelj hekleraja i svega što se od njih može napraviti. Poklon joj se svideo :)
Od ovoga....
///////////////
Even tough this month I already made one vase (see here), I had to put this one as a task for this month. I`m tight with time, but I didn`t break the rules of this project: I have made two more DIY projects in this month, but I just didn`t manage to photograph them. I will report about them also, but on another blog which is more about DIY. By the way, this is the present for my dear sister, who is momentarily in process of moving into new apartment. She`s also a big doilie fan! She did like the present :)

.... dobila sam ovo: ///// .. I got this...
prazna i očišćena boca
hekleraj
igla i konac
kudeljin konac
flis materijal
akrilna boja
//////////
From the material you`ll need:
empty and cleaned bottle
doilie
needle and thread
nettle yarn
flis
acrylic colour
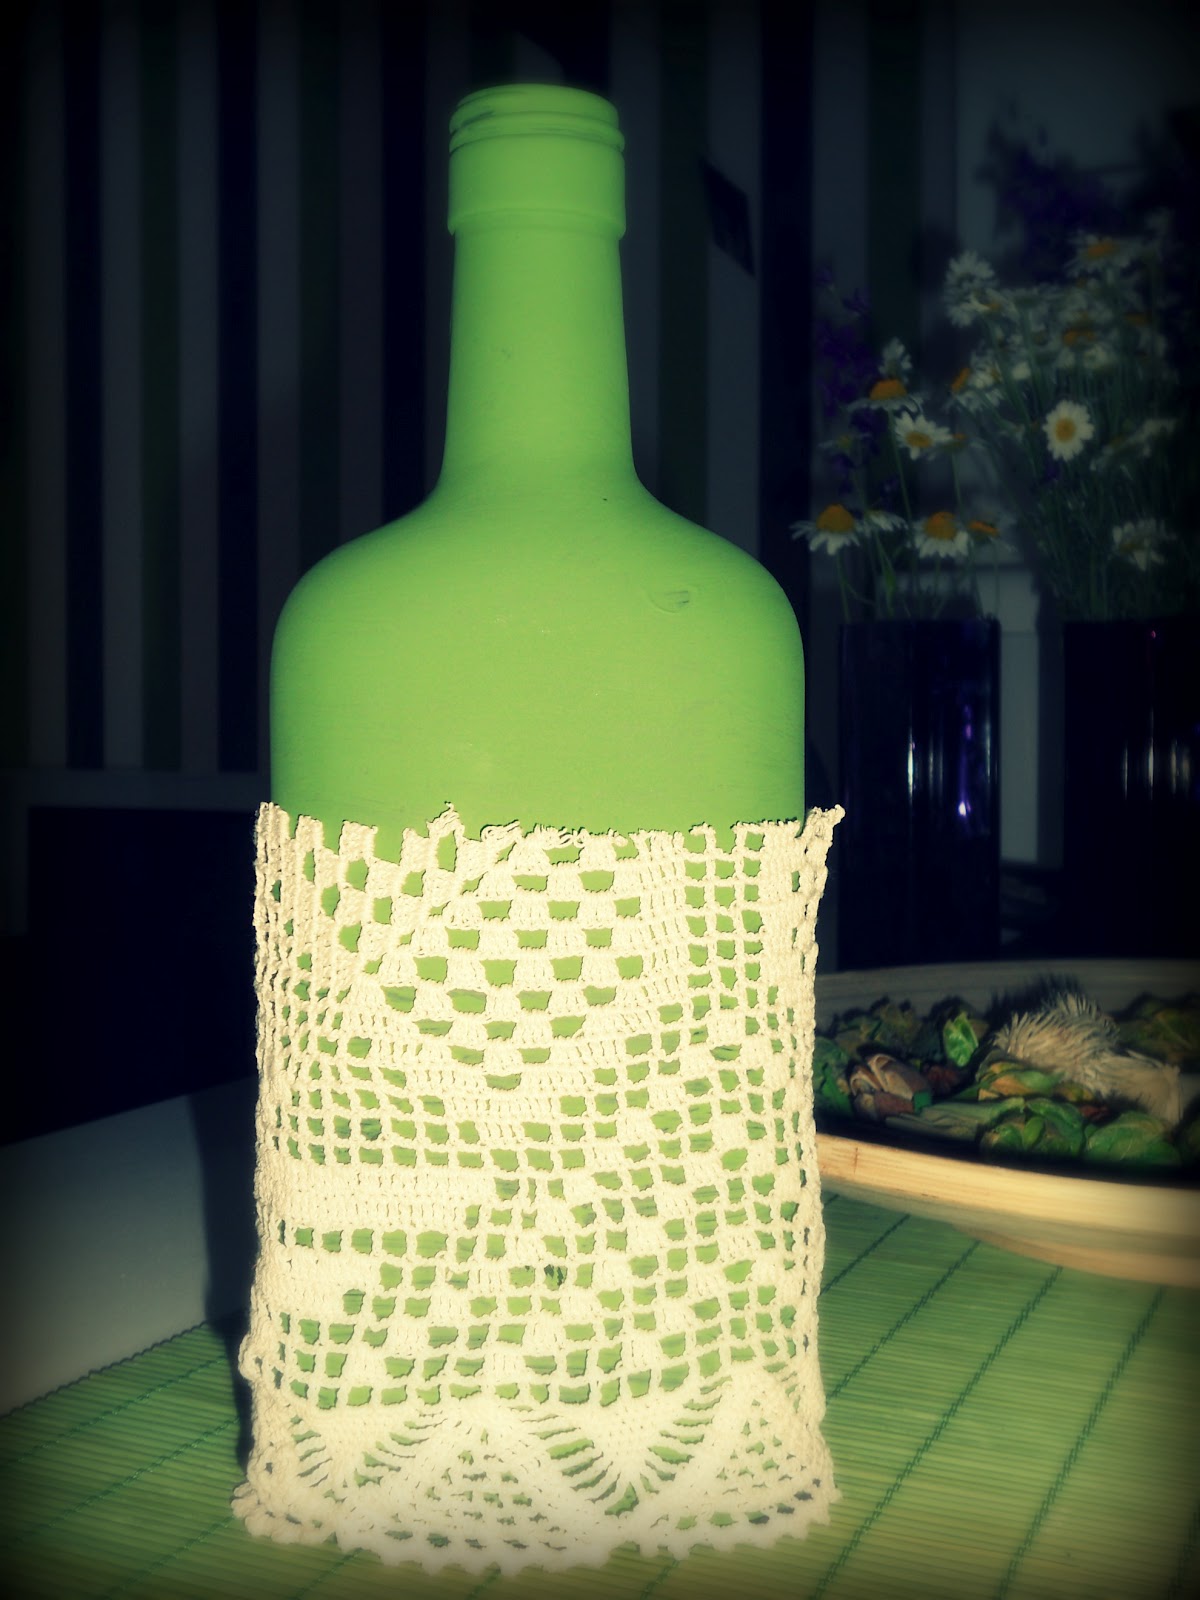
Prvo, obojite flašu... //// First, you colour the bottle...

Kao što vidite, dole ne morate da je bojite drugim slojem, jer ćete je tu svakako prekriti heklerajem. Potom, ušijte hekleraj, tako da lepo pristane oko flaše. ////// As you can see, the lower part you don`t have to colour with paint, because you will cover it with doilie anyway. After that, you sew the doilie, so that it fits well around the bottle.

Isecite cvetić od flisa, i uvežite ga sa koncem oko flaše. I to je to! ////// Cut the flower of the flis, and tie it around the bottle together with a yarn. And, that`s it!

.....
Prošao je još jedan mesec projekta. Toliko mi prijaju ovi "uradi sam" projekti, da imam minimum još pet ideja koje čekaju u redu da ih realizujem u narednim danima. Međutim, shvatila sam da ne bi bilo dobro da mi se još jedan mesec preklapaju postovi na dva bloga. Tako da sam za naredni mesec osmislila drugi zadatak, a o narednim "uradi sam" projektima možete čitati na mom CreaCtvity blogu. A zadatak za sledeći mesec je: ORGANIZOVATI ŠEST AKTIVNOSTI SA DRAGIM OSOBAMA KOJE DUGO ILI NIKADA NISMO RADILI! //////// Another month of the project has passed. I`m so into these DIY projects and have at least five ideas in a row of what to make in the next few days, but I figured that it would not be good to have the same posts on my two blogs for two months. So, for Month number 3 I`ll give myself another assignment, and about my DIY projects you can read on my CreaCtivity blog. The assignment for June will be: ORGANIZE SIX ACIVITIES WITH DEAR PEOPLE THAT WE NEVER OR FOR A LONG TIME HAVEN`T DONE!